
Product Tips & Answers

Quick Guide to Adding & Deleting Users in PCM
In this Topic Hide
1. Log in to PCM as the Administrator (ADM001).

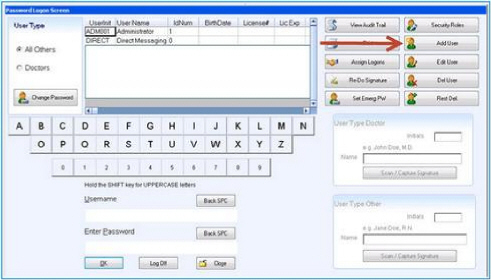
2. The Password Logon Screen expands to display Administrator options:
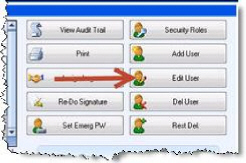
2.1 Click [Add User] button on the right.
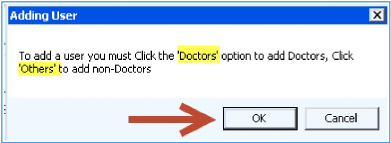
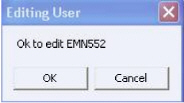
2.2 At the prompt, click [OK] to continue.
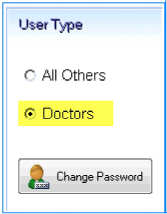
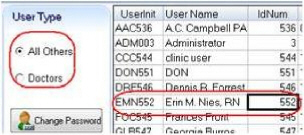
3. Select the User Type on the left.
3.1 All Other: Click this radio button for a T-user (mid-levels such as NPs, PAs, etc.) and any non-provider users.
3.2 Doctors: Click this radio button for a provider (MDs, DO, DPM, etc) who is NOT a T-user.

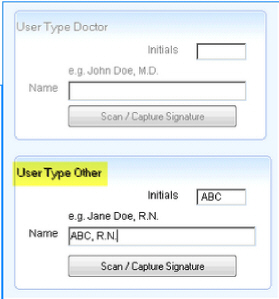
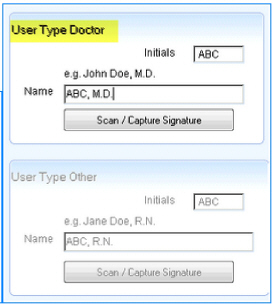
4. After the User Type is selected, the User Type Doctor OR User Type Other boxes are enabled.
4.1 Initials: This field MUST contain 3 letters. Type the initials of the user's first, middle and last names.
4.2 Name: Type the user's full name in upper and lower case letters including any applicable suffixes, such as M.D., N.P., or R.N. NOTE: This field is used to append the user's signature.
4.3 Click [Scan/Capture Signature].
5. Select one of the following to save the user's signature:
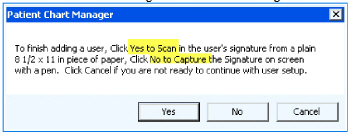
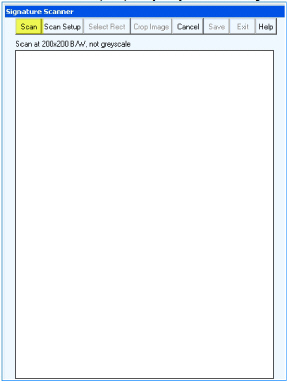
5.1 Yes to Scan: Click [Yes] to scan the user's signature from a sheet of plain white paper, and then follow the prompts to scan, crop, and save the image.
5.2 No to Capture: Click [No] to capture the user's signature by mouse or stylist on a tablet, and then follow the prompts to save the signature.
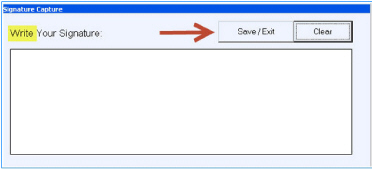
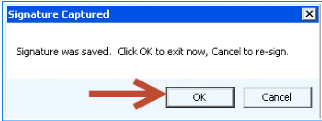
6. Click [OK] to save captured signature.
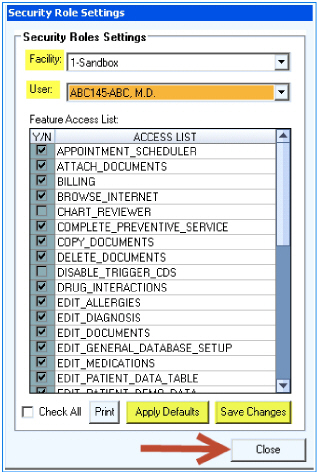
7. After the signature is saved, the Security Role Settings window appears.
7.1 Select <Facility> if more than one clinic.
7.2 Select the newly added <User> from the drop-down list.
7.3 Click [Apply Defaults], and then check or uncheck boxes as needed.
7.4 Click [Save Changes].
8. When prompt appears, click [Yes] to add another user (repeat steps 5-8) or [No] if you are finished.
9. Click [Edit User] to enter additional information for the new user.

9.1 Click [OK].
9.2 Click the radio button for User Type All Others OR Doctors.
9.3 Click on user initials.
9.4 Click [OK].
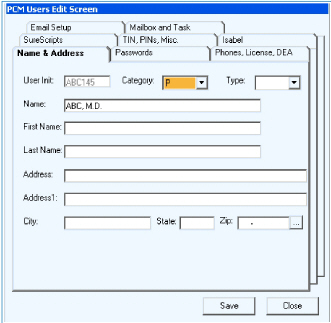
10. The PCM Users Edit Screen opens to allow editing of required fields on the following tabs:
10.1 Name & Address:
10.1.1 Category: Defaults to 'P' (provider) or 'O' (other), based on the selected User Type. For mid-level providers (NP, PA, etc.) added as Other-Type users, select 'T' in the drop-down.
10.1.2 Type: Select from the drop-down list.
10.1.3 Enter the user's <First Name> and <Last Name>.
10.1.4 Enter the <Address> and <Zip Code> (City and State will automatically populate) for the practice.
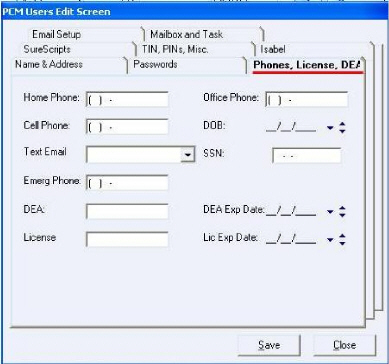
10.2 Phones, Licenses, DEA: (required for providers)
10.2.1 Enter the user's <DEA> number.
10.2.2 Enter the user's <License> number.
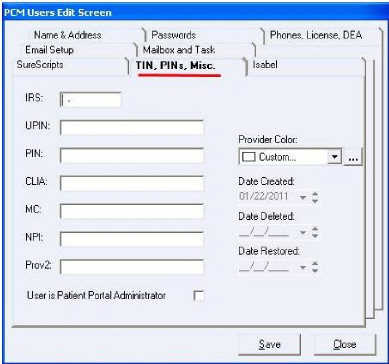
10.3 TIN, PINs, Misc.: (required for providers)
10.3.1 Enter the user's <NPI> number.
10.4 SureScripts:
10.4.1 Contact support to set up ePrescribing for new providers.
10.5 Email Setup: Required in order to send emails from PCM.
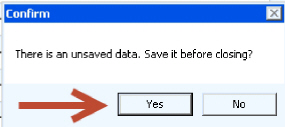
11. Once the editing is completed, click [Save] and [Yes].
NOTE: If using the Intellect appointment schedule, the Intellect appointment provider code must be mapped to the provider's PCM user through Misc.Options > Data Maint > Data Maintenance [Map PM Providers to PCM Provider Codes].
1. Log in to PCM as the Administrator (ADM001).
2. The Password Logon Screen expands to display Administrator options.
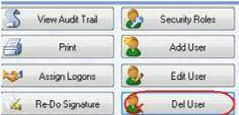
3. Click [Edit User] to re-assign the user's tasks and inbox documents to another user.
3.1 Click the radio button for User Type All Others OR Doctors.
3.2 When the PCM Users Edit Screen opens, select the Mailbox and Task tab.
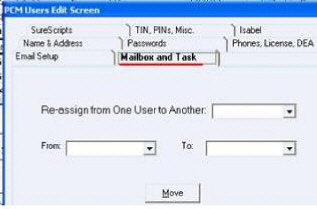
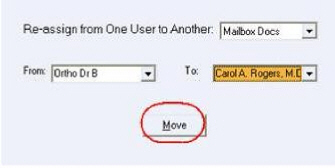
3.2.1 Click on <Re-assign from One User to Another> to select Mailbox Docs.
3.2.2 Click the down arrow on the <From> field to select the user that will be deleted.
3.2.3 Click the down arrow on the <To> field to select the user to whom the Tasks or Mail will be moved.
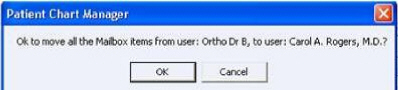
3.2.4 Click on the [Move] button.
A verification message appears.
3.2.5 Click [OK] to repeat step 3.2.4 for Tasks.
3.3 After moving Tasks and Mail, click [Save] and [Yes] to close window.
4. Click [Del User].
4.1 NOTE: Deleted users may be restored by clicking [Rest. Del.].
4.2 At the prompt, click [OK] to continue.
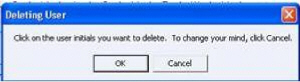
4.3 Click on the appropriate User Type All Others OR Doctors.
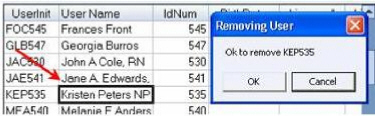
4.4 Click on the User Name line to be deleted, and then click [OK] to confirm.
For detailed instructions, go to www.primeclinical.com, click [Client Login] then PCM Info > PCM Documents & Videos > Online Documentation and select Appendices, Chapter: Administrator Functions.