Intellect™
ADDITIONAL FEATURES

Patient Portal
Patient Access
You must have both PCM and Intellect to use this feature.
In this Topic Hide
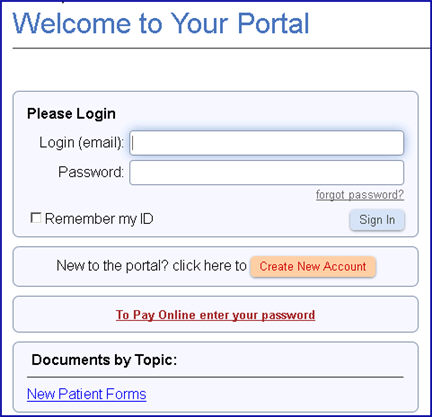
1. Once Patient Portal is set up for an office, they may send their patients an email invitation with the URL of the office so that they may set up their own portal account. When patients enter the office URL, they get a 'Welcome' screen similar to this:
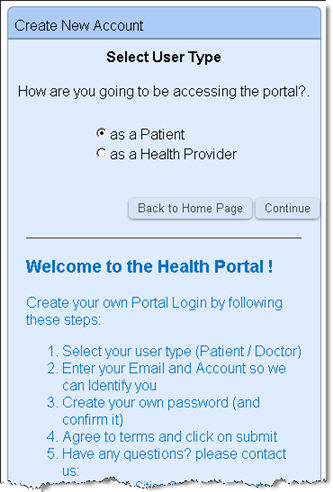
2. Patients who have not yet set up their Patient Portal should click on the  button to access the screen below, and then follow the directions to set up an account.
Once patients have set up an account, several actions can be taken via the 'Welcome to Your Portal' screen:
Use Options Set Up by the Clinic
1. Use Options Set Up by the Clinic
After populating the <Login (email)> and <Password> fields on the 'Welcome to Your Portal' screen, clicking  opens a window where patients can access options set up by the clinic. For example:
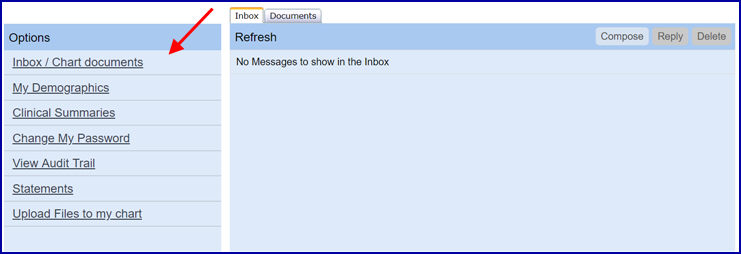
Options vary per the clinics' choice. Additional options could be allowing patients to access their charts/lab results, contacting their provider, or scheduling their own appointments (see Additional Features --► Patient Portal --► Appointments in this documentation).
Clicking To Pay Online enter your password on the 'Welcome to Your Portal' screen takes the patient to this screen for password entry to ensure secure payments:
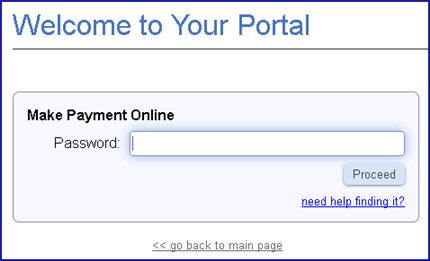
Note1: Each office must have an account with Authorize.net in order for their patients to make payments through Patient Portal. For more information on setting up an Authorize.net account, see Third-Party Vendor Options, Credit Card Authorization.
Note2: The only Patient Portal report generated through Intellect is a receipt report showing payments made during a specified time frame. The receipt report is generated via Schedule --►Appointment --►Receipt --►Print Report Receipt and may be used to manually enter payments into Payment --►Apply Receipt. Patients should be able to run daily Patient Portal closing reports through Authorize.net.
After entering the correct password and clicking [Proceed], the payment screen displays:
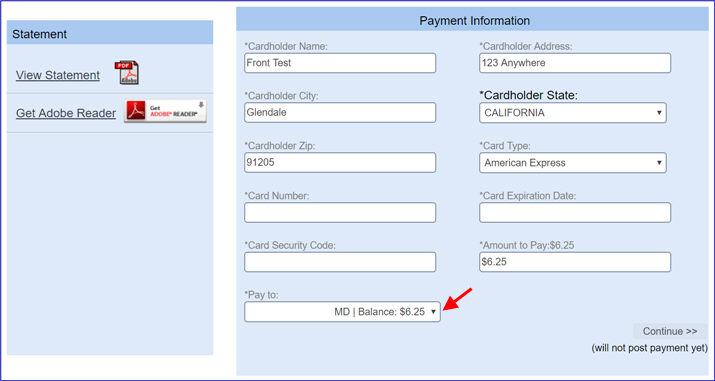
Patients populate the payment screen and click [Continue].
Effective version 19.03.26, the <Pay to> field includes a drop-down list that allows patients to choose the provider for whom the payment will be made. Additionally, instead of multiple statements going out, patients now receive one statement with the balance for each provider.
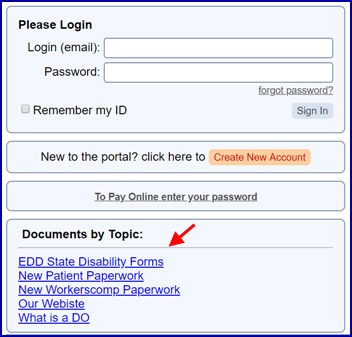
The Documents by Topic section on the 'Welcome to Your Portal' screen lists documents available to patients (see sample below). Patients can click on the document of their choice to access it.