
Intellect™
REGISTRATION MENU OPTIONS

Document Archive
This menu option provides the clinic with the ability to store and retrieve scanned documents on a patient-by-patient basis. Documents may be saved internally to Intellect's home directory for easy retrieval or to an external location such as a disk.
To use this option, a scanner is required with a recognized driver and basic configuration in Utility --►Set Up --►Printer --► Scanner Settings --►Add. Before purchasing a scanner, verify with Prime Clinical's Hardware department which scanners are supported by the program. Not all scanners work with the Doc Archive option. We recommend a scanner be used that PCS has tested and supports.
This option allows a custom document type to serve as a template for all similar types; e.g., an insurance card (for an example, click on insurance card OR scroll to the end of this document).
To archive documents in Intellect, go to Registration --► Doc Archive
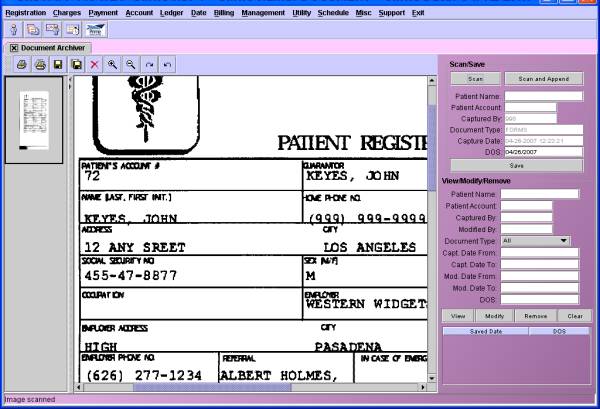
The DOCUMENT ARCHIVER screen opens:
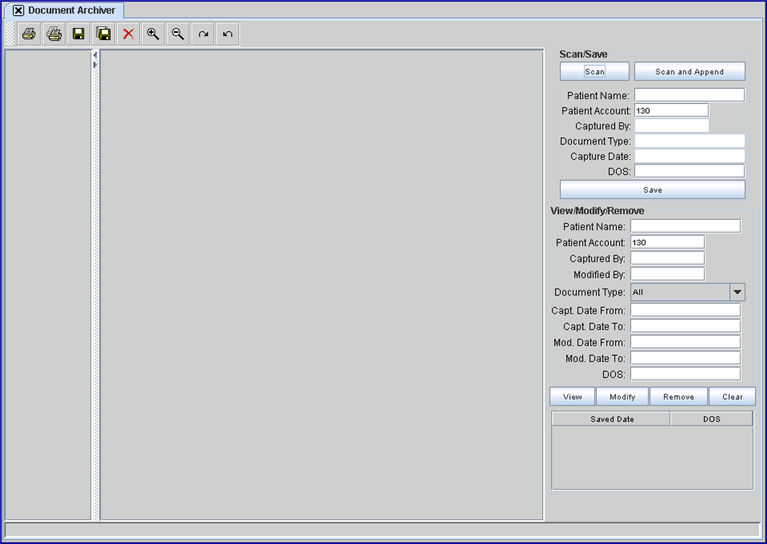
This documentation covers these areas:
Using the Document Control Icons
Saving the Document to a Patient File
Retrieving Scanned/Archived Documents
To scan a document:
1. Place the document in the scanner and click on the [Scan] button in the Scan/Save section of the screen:
Intellect displays the Document Type selection box.
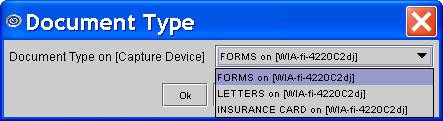
2. From the <Document Type> drop-down list, select the correct document type. For example, if an insurance card is being scanned, select: 'INSURANCE CARD.'
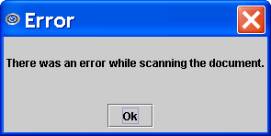
NOTE 1: The drop-down list displays only the Document Types defined for the scanner driver set up on the workstation currently being used. If more than one scanner driver is installed, there may be more than one Document Type for the type of form being scanned. Be sure to select the correct combination of Document Type and scanner driver. If a driver is selected that is not properly installed on the workstation, this alert message may display:
NOTE 2: If a customizable driver/scanner is used, Intellect moves from the Document Type selection to SCAN.
3. After selecting the Document Type from the drop-down list, click on the [Ok] button.
If the system has a 'Native Settings ' type scanner/driver, this dialog box displays:
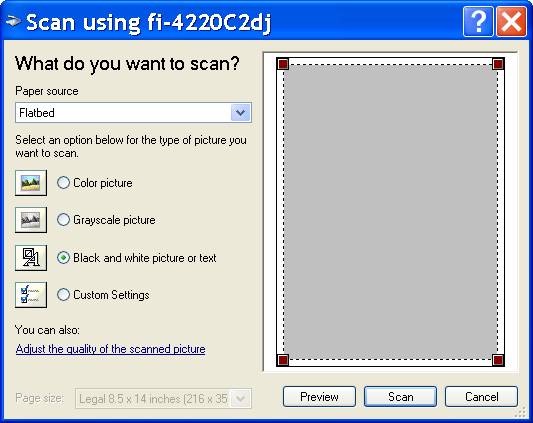
3.1 Select the appropriate paper source from the drop-down list. In the example, Flatbed was selected.
3.2 Select the appropriate ![]() picture (black and white is recommended).
picture (black and white is recommended).
3.3 When the selections are completed, click one of these options:
![]()
3.3.1 Select [Preview]. This screen initially displays:
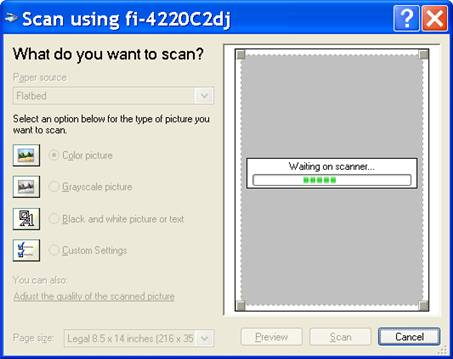
and then the window on the right displays a preview copy of the document to be scanned:

3.3.2 Select [Scan] to display:
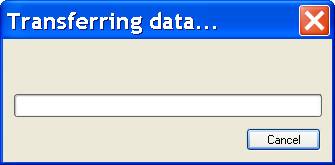
After the document has completed scanning, it displays on the screen as shown below:
3.3.3 Select [Cancel] to abort the scanning process.
4. Scan and Append 
4.1 Use this button when adding additional documents to a single file.
4.2 The frame on the left side of the screen displays a thumbnail of all documents included in the current file.
4.3 Mouse-click on the thumbnail to make that document active.
Using the Document Control Icons

1. ![]() Print the selected image: Click this icon to print the active document from the current capture.
Print the selected image: Click this icon to print the active document from the current capture.
2. ![]() Print all images: Click this icon to print all documents in the current capture.
Print all images: Click this icon to print all documents in the current capture.
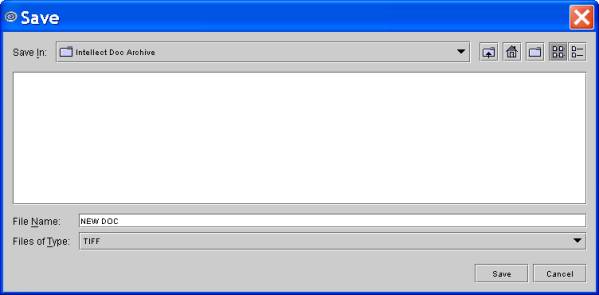
3. ![]() Save selected image to disk. Click this icon to display the following window. Select a location and press [Save].
Save selected image to disk. Click this icon to display the following window. Select a location and press [Save].
4. ![]() Save all images to disk. Click this icon to save all images scanned in this session to the selected location.
Save all images to disk. Click this icon to save all images scanned in this session to the selected location.
5. ![]() Delete selected image: Click this icon to delete the page whose thumbnail is selected. Before the page is deleted, a warning message displays:
Delete selected image: Click this icon to delete the page whose thumbnail is selected. Before the page is deleted, a warning message displays:

NOTE: When using this icon, the selected image is only removed from the current session, but is not removed from the database unless [Modify] (located at the bottom right on the main screen) is pressed.

6. ![]() Magnify selected image: Click this icon to magnify the image. The magnified view is not saved.
Magnify selected image: Click this icon to magnify the image. The magnified view is not saved.
7. ![]() Reduce selected image: Click this icon to reduce the image. The reduced view is not saved.
Reduce selected image: Click this icon to reduce the image. The reduced view is not saved.
8. ![]() Rotate selected image to the right: Click this icon to rotate the image clockwise. The rotated image can be saved.
Rotate selected image to the right: Click this icon to rotate the image clockwise. The rotated image can be saved.
9. ![]() Rotate selected image to the left: Click the icon to rotate the image counter-clockwise. The rotated image can be saved.
Rotate selected image to the left: Click the icon to rotate the image counter-clockwise. The rotated image can be saved.
Saving the Document to a Patient File
Version 9.12.34 - Modification
When the Registration --►Doc Archive screen is opened, the <Patient Account> field is pre-populated with the very last patient account that was used, if there was one. If it is blank, it means that no accounts have been entered yet.
1. Enter/select the patient in one of two ways:
First Option:
Type in the patient's account number in the <Patient Account> field and press the [Enter] key:

Second Option:
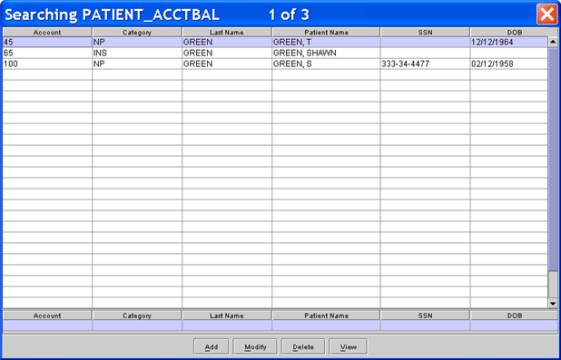
If the patient account number is not known, search by entering all or a portion of the patient's name in the <Patient Name> field and press the [F2] key to display the Searching screen. Remember that all patient name searches should be entered as last name first. See Introduction to Intellect --► Intellect Characteristics and Features -- Searching for more information on the Searching screen.

Highlight the correct patient from the list and press [Enter] to select. For example:
2. Patient Name 
2.1 The patient's last name and first name are displayed.
3. Patient Account
3.1 Effective version 9.12.34 - Modification. When the Registration --►Doc Archive screen is opened, the <Patient Account> field is pre-populated with the very last patient account that was used, if there was one. If it is blank, it means that no accounts have been entered yet.
3.2 The patient's account number is displayed.
4. Captured By 
4.1 The user number of the person scanning the document is displayed at the moment of the first scanning for this session. This is a read-only field and may not be accessed.
5. Document Type 
5.1 The Document Type code selected when scanning the document is displayed at the completion of scanning the selected document. This is a read-only field and may not be accessed.
6. Capture Date 
6.1 The calendar date the document was scanned is displayed at the completion of scanning the selected document. This is a read-only field and may not be accessed.
7. DOS 
7.1 The calendar date the document was scanned is displayed at the completion of scanning the selected document. When applicable, this may be changed.
8. [Save] 
8.1 If the above information is correct, click on the [Save] button to save the scanned image to the patient’s file.
8.2 Any document saved from this button is retrievable for future viewing, printing, deletion, and modification (rotation only).
Retrieving Scanned/Archived Documents
The View/Modify/Remove section of the screen is a document search keyed by the patient account number.

Documents may be retrieved using either the <Patient Name> or the <Patient Account> field. Instructions for both search methods follow:
1. Patient Name
1.1 If the account number of the patient is not known, type up to 6 characters of the last name and press the [F2] key to display the Searching screen (see example below). To select the account from the list, either highlight the record and press the [Enter] key, OR double-click on the record. See Introduction to Intellect --► Intellect Characteristics and Features -- Searching for more information on the Searching screen.

- OR -
2. Patient Account
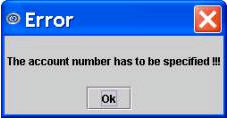
2.1 Type in the patient's account number and press the [Enter] key. If this method is used, the <Patient Name> displays. Note: The patient information must be specified to retrieve an archived document. If not completed, this message displays:
The following fields are additional document search parameters:
3. Captured By
3.1 To retrieve documents based on the user number of the person who scanned the document, enter his/her user number; otherwise, leave blank.
4. Modified By 
4.1 To retrieve documents based on the user number of the person who modified the document, enter his/her user number; otherwise, leave blank.
5. Document Type 
5.1 To retrieve documents based on the document type, select from the drop-down list. If not, accept the default 'All.'
5.2 The drop-down changes after the search to reflect the document type of any active document displayed.
5.3 Effective Version 12.12.06: Each document type is shown only once, regardless of how many scanners are set up with that document type. Additionally, the size of the field now adjusts automatically to accommodate long values or increased font sizes.
6. Capt. Date From 
6.1 To retrieve documents based on the date the document was scanned, enter the date. If not, leave blank.
6.2 To retrieve documents based on the date range the document was scanned, enter the beginning date. If not, leave blank.
7. Capt Date To 
7.1 To retrieve documents for this patient based on the date range the document was scanned, enter the ending date. If not, leave blank.
8. Mod. Date From 
8.1 To retrieve documents based on the date the document was last modified, enter the date. If not, leave blank.
8.2 To retrieve documents based on the date range the document was last modified, enter the beginning date. If not, leave blank.
9. Mod. Date To 
9.1 To retrieve documents based on the date range the document was last modified, enter the ending date. If not, leave blank.
10. DOS
10.1 To retrieve documents based on the date of service (DOS), enter the date.
11. When the search criteria for the desired document has been entered, click on one of these buttons:

11.1 View 
If the above information is correct, click on the [View] button to view the scanned images. A list of all documents that match the request are listed in the window located in the bottom, right corner of the screen.
11.1.1 The first document listed (oldest DOS) displays in the Document Area.
11.1.2 To change the document, use either the mouse to click on the desired document, OR use the ↑ (up) and ↓ (down) keyboard arrows to highlight the desired record.
11.2 Modify 
11.2.1 Select [Modify], after changing the 'Rotation' of the active image viewed, to save the change.
11.2.2 When multiple images are returned from the search, the [Modify] button must be pressed for each document to be modified.
11.2.3 Also used in conjunction with the 'Delete' icon at the top of screen.
11.3 Remove 
11.3.1 When selecting [Remove], Intellect displays this warning:

11.3.2 Select [Yes] to completely remove the document from the database.
11.3.3 Select [No] to close the warning message.
11.4 Clear 
11.4.1 Select [Clear] to clear all the current documents and most of the search criteria.
Additional Feature
Through the use of the arrows shown below, the screen view may be adjusted.
Use the arrows to hide or display the side frame.
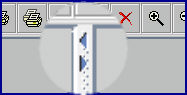
The viewing area of the image may also be adjusted by dragging ![]() with the mouse.
with the mouse.
EXAMPLE OF CUSTOM TYPE: Insurance Card
![]()