Intellect™
SCHEDULE MENU OPTIONS

Appointment
Full Day
Special Features
Scheduling Resource Groups
This option is used to associate and define the relationship between appointment types that must be scheduled with a definite sequence and purpose, generally with certain related time restraints. To utilize a Resource Group, select the Appointment Schedule Search Tab screen, Resource Group option.
NOTE: For this option to work, first create an Appointment Type with the same type code as the one being planned to use for a group.
1. To create a schedule Resource Group for a provider in Intellect, go to Set Up --►Appointment --►Resource Group
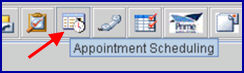
2. Next, click on the Appointment Scheduler icon:

4. Select the Resource Group radio button
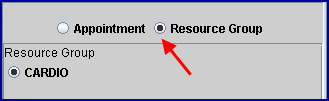
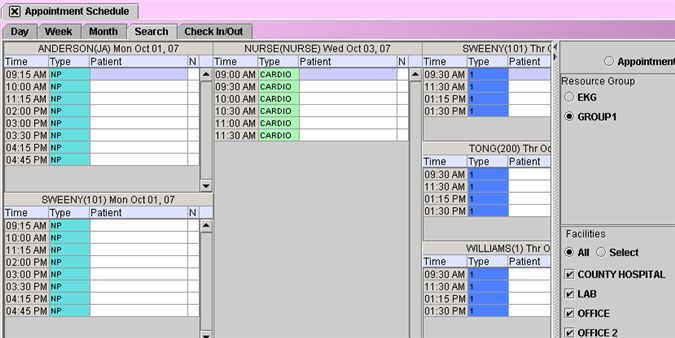
5. Select the desired Resource Group radio button. In the example above, Cardio has been selected.
5.1 NOTE: The Resource Group scheduling function is not designed to work with the other Search Screen parameters such as Facilities.
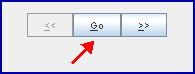
6. Click the GO button at the bottom of the pane:
7. The schedule now shows available Resource Group appointment clusters based on the minimum/maximum relationship defined when creating the group in Utility --►Set Up --►Appointment --►Group.
7.1 The first available day is always the default:
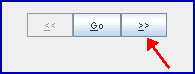
7.2 To schedule Resource Groups in the future, use the right arrow to advance the schedule forward to the next available starting time slot for this Resource Group:
8. To add a Resource Group appointment, it is advisable to follow this order:
8.1 Left click the PRIMARY APPOINTMENT (indicated by pale blue background in the 'N' column) in the desired appointment time slot. This highlights the time slot and adjust the various options available for scheduling the secondary appointments.
8.2 Left click on the secondary appointments in the desired time slots until satisfied with the selections.
8.3 Right-click on any selection other than the PRIMARY. This displays the standard Add Appointment dialog box.
8.4 Adding an appointment to any one of the group’s types automatically schedules in the remaining types, thus completing the scheduling of one patient for this group. NOTE: Any time the user selects the Primary Appointment Type, the other appointments reset; hence, do NOT use the PRIMARY to Add.
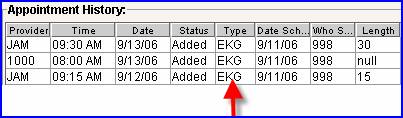
9. Once added to the schedule, all the appointments for this patient in this group appear as individual appointments on the regular schedule with these properties:
9.1 Appointments are displayed using the groups' Code Appointment Type, but retain the colors of the individual Appointment Types
9.2 When viewing the Appointment History display in the various dialog boxes, the individual types have separate lines listing their properties, except for the Type column, which shows the Group Code Type: