
Intellect™
WEBSTAFF MENU OPTIONS

WebStaff Software/Hardware Set Up
Version 9.12.10 – New option
BETA - Documentation and Software Program are subject to change.
WebStaff provides clinics with remote access to their appointment schedule via the internet. To connect from anywhere there is internet, at anytime, open a web browser, enter the WebStaff address, then complete your Login and Password.
To utilize this feature, set up is required:
Once set up and configuration are completed, as outlined below, you may begin using WebStaff. For specific information on using WebStaff, please refer to the online documentation under WebStaff --►WebStaff Overview.
Before using this feature, Intellect needs to be set up as follows:
1. Go to Utility --►Tools --►Configuration
1.1 These fields should already have been set up based on information from your DSL carrier: <SMTPSERVER>, <USERNAME>, and <PASSWORD>.
1.2 Set up these fields.
Set up should be completed by the clinics' IT person. Clinics who do not have an IT person should contact Prime Clinical to complete the set up of these fields.
• <External IP>: Enter your public (external) IP address. If you do not know your IP address, open up a web browser (i.e., Internet Explorer), type http://www.whatismyip.com and hit [Enter]. A web page pops up displaying your IP address.
• <Webserver Port>: Enter the port to be used by the web server. The default port is 8080. The recommended port is 8080 but if that port is already being used for another purpose, use another port as long as it is an open port through the firewall.
1.3 After entering the information, press [MODIFY], and exit from Intellect to save.
2. Go to Utility --►Provider --►Provider --►Modify
2.1 For each Provider that will be using WebSTAFF, verify that the <webStaff Access> field has been set to ‘Y’. Note that there is no charge or new license required for providers and there is no limit on the number of providers that can use WebStaff.
3. Go to Utility --►Insurance --►Insurance --►Modify
3.1 For each Insurance that will be used on WebSTAFF, verify that the <webStaff Access> field has been set to ‘Y’.
4. Go to Utility --►Diagnosis --►Modify
4.1 For each Diagnosis Code that will be used on WebSTAFF, verify that the <webStaff Access> field has been set to ‘Y.’
5. Go to Utility --►Procedure --►Procedure --►Modify
5.1 For each Procedure Code that will be used on WebSTAFF, verify that the <webStaff Access> field has been set to ‘Y’.
6. Go to Utility --►Facility --►Modify
6.1 For each Facility that will be using or be used on WebSTAFF, verify that the <webStaff Access> field has been set to ‘Y’.
7. Go to Utility --►Referring --►Modify
7.1 For each Referring Code that will be used on WebSTAFF, verify that the <webStaff Access> field has been set to ‘Y’.
Set up should be completed by the clinics' IT person. Clinics who do not have an IT person should contact Prime Clinical’s hardware department to complete the set up of these fields.
1. Open port 8080 (or whatever port was entered in the <Webserver Port> field on the Configuration screen) in the client’s firewall and forward it to the Intellect server.
1.1 To check to see if the firewall setting is correct and the port is forwarded correctly, open up a web browser (for example, Internet Explorer), type http://[your external IP address]:8080 and hit [Enter].
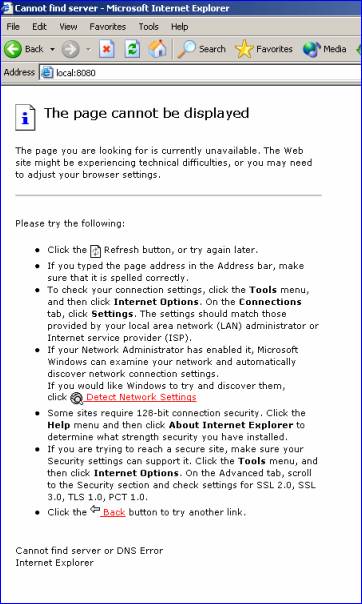
• If you get this screen, it means that it is working:

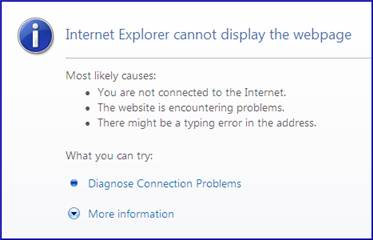
• If you get an error page from your web browser, such as the following, it means there is something wrong with the firewall setting. Contact PCS hardware support.
2. Go to the home/staff/app directory and double-click on InstallOnstaffWebServerService as shown below. This adds a new service to the Windows services called Onstaff Web Server (similar to the Onstaff server).
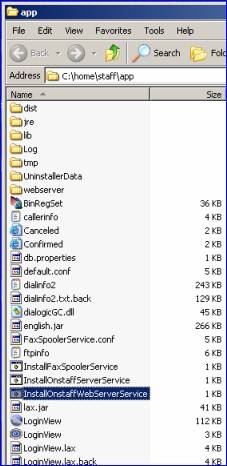
2.1 If a screen momentarily pops up and then closes after you double-click on this file, it means this service has already been installed.
2.2 To check to see if the 'onstaff web service' is working, open up a web browser (for example, Internet Explorer), type http://localhost:8080 and hit [Enter].
• If you get this screen, it means that it is working:
• If you get an error page from your web browser, such as the following, it means there is something wrong with the web server. Contact PCS hardware support.
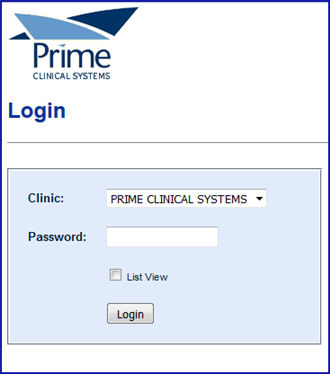
3. At your web browser, type http://localhost:8080/webstaff. This WebStaff Login screen should display:
If you get an error page from your web browser, such as the following, it means WebStaff is not correctly set up. Contact PCS hardware support.