
OnSTAFF 2000
New Patient/ REGISTRATION
Main Menu/New Patient/REGISTRATION
This option is designed to print blank registration forms or registration forms or cards containing information from the patient record. When the Registration option is selected from the New Patient Menu, On-Staff will display the following:

Menu Options:
Batch of Patients This option will print a registration form for one or up to 100 random account numbers.
Group of Patients This option will print registration forms for a range of account numbers in sequence.
Blank Form This option will print a blank registration form.
Card This option will print an identification card OR when programmed, chart labels.
Exit Returns you to the New Patient Menu.
New Patient/Registration/CARD
Card allows the scheduler to print an identification card containing the name, account number and insurance information of the patient The account number can be programmed to print in a bar-coded format to allow the operator to scan the card and get the patient’s information (this option will only work if you have a bar-coded scanner or card reader in your office). Identification cards may be printed on either a laser or dot matrix printer. Card may be programmed so that chart labels instead of identification cards are printed. Contact your vendor for any special programming. When the Card option is selected On-Staff will display the following:
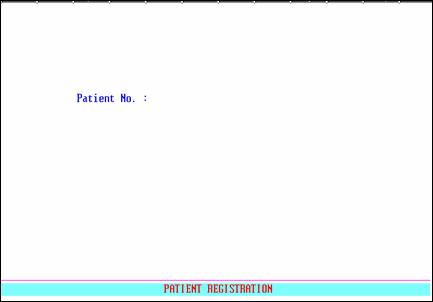
Patient No.: When only one card is to be printed, enter the patient’s account number and press [Enter] until the print out destination prompt appears. When more than one card is to be printed, enter the next account number. After pressing [Enter], the selected patients will be displayed in the Batch Entry for Patient screen with the cursor in the Name column. Continue entering account numbers until the patient selection is complete. Press [Enter] to move the cursor to the batch entry C (command) column. Press Q (quit) to print cards for the patients listed, A (add) to add additional accounts OR use the arrow keys to select accounts you do not want to print and press D to delete that selection.
When you do not know a patient’s account number, enter the patient’s full name (last name, first name) OR if you know only part of the patient’s name, you may use a Wild Card search. On-Staff will display the Selection Screen for Patient. Select the correct account by highlighting the account and pressing [Enter]. When only one card is to be printed, press [Enter]. When more than one card is to be printed you may continue to search for each patient account number in this fashion or when known, enter their account number in the batch entry screen.
When the patient selection is complete press [Enter] and On-Staff will display the following message:
Enter your print out destination or Return for default? HP
To accept the default printer (in the above example, HP) press [Enter]. To see your printer options press [Space Bar] once to clear the field, then press [Enter]. The printer destinations for your system will be displayed. At this point, highlight the desired printer and press [Enter]. The system should beep once to signify that the process is going to the printer. If the system beeps twice the print job has failed. To determine the reason the print job failed access the SYSTEM STATUS OPTION by holding down the [Ctrl] key and typing X. For additional information refer to the Control X section of Getting to Know On-Staff included in Session III.
After selecting your printer and pressing [Enter] On-Staff will return to the Appointment Menu.