
OnSTAFF 2000
Utility/Messages/MESSAGE
Standard to On-Staff are numerous Follow Up and Recall Letters as well as Statement Messages. This option is used in adding to and maintaining this library. Certain of these Statement Messages are linked to your Categories on the <Billing Message>, <Group 2 (3, and 4) Message> fields. To become familiar with the provided Messages, print a listing by going to /Utility/Messages/Message/Print. DO NOT DELETE ANY MESSAGE CODES.

Menu Options:
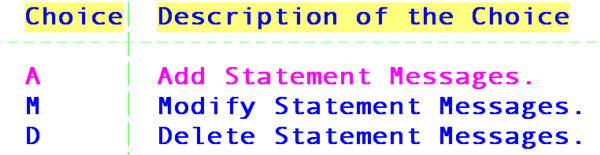
Remark
Message
Exit

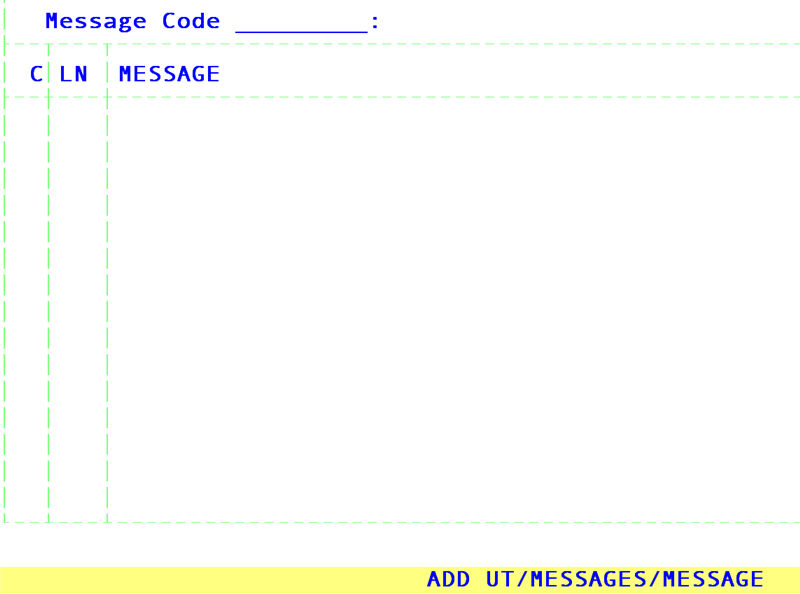
Message Code: The user defined or internal code of the remark up to 6 letters or numbers. If attaching this message to a Remark the Message Code must be the same as the
Remark Code
C Command column. Pressing the [F2] search key will display the following list of valid choices:
LN This field reflects the line number of the message
Message The body of your message, up to 70 characters per line.
NOTE: When adding a new line to an existing letter, be sure to move the cursor over nine spaces by using the [’] key, starting the new line in the tenth space to allow for the margin. See FIGURE 1 next page.
If you select the Add option, type the user defined Message Code and press [Enter]. Under the heading LN (line number) 1 will appear with the cursor under the heading MESSAGE. Under this heading, complete the first line of this message and press [Enter]. The cursor will return to the C (command) column. Press A to add the next line. On-Staff assumes that you wish to create an extended message and from this point forward when [Enter] is pressed after the completion of each subsequent line, On-Staff will automatically assign the next LN (line number) in sequence and the cursor will be under the MESSAGE heading. After completion of the last line, with the cursor under the MESSAGE heading, press [“] to return to the C (command) column. Press Q (quit) and the cursor will return to the Message Code field allowing the user to add another letter/statement message. Pressing [“] from the Message Code field will return to the Statement Message Menu.
NOTES: It the sender of the letter is to sign the letter after the salutation, the user must leave two or more blank lines after the last line. See FIGURE 2, next page. NOT leaving blank lines will print the name of the user (/Utility/Set Up/Security/Login Users <Name>) immediately after the last line leaving no room for the user to sign their name between the salutation and their printed name.
FIGURE 1: When adding each line of the body of a letter, be sure to press [’] NINE times in order to have the correct margin (dotted line) alignment.
FIGURE 2: The above Message Code I30 will allow the user to sign their name between the salutation and printed name by having two blank lines after the salutation (LN 10 and 11):
