
Intellect™
PCM SET UP FOR PDF DOCUMENTS

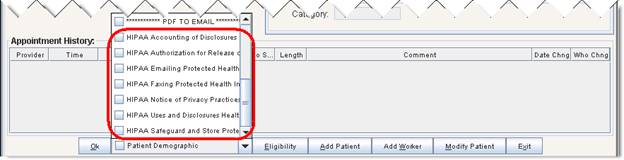
PCM users only. Intellect version 19.05.01 included the ability to send PDF forms as an attachment to emails sent to patients, giving the patient the ability to print a hard copy of the form and fill it out by hand. The PDF forms are accessed and sent via the [☐ Patient Demographic] drop-down list on the Schedule --►Appointment --►Full Day --►Add Appointment screen. The forms that include a PDF attachment begin with the word ‘HIPAA,’ followed by the name of the form:
Prior to emailing PDF forms from Intellect, set up must be completed in PCM to allow for automatic filing to patient charts when scanning the barcoded documents:
1. Only PCM users with ‘Logon as Chart Reviewer’ privileges may complete the setup:
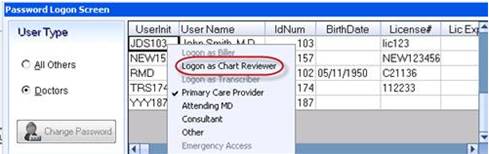
1.1 For details about logging on as the Chart Reviewer to open the New Document Setup window, see the PCM documentation for Infrastructure Building/Managing; Chapter: Document Names Set Up (Faxes/Scanned/Imported Documents); Document: Launch Document Name Set Up.
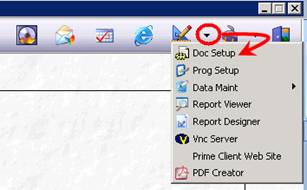
2. Click on the arrow next to the [Miscellaneous Options] icon on the main toolbar at top right of the screen and select {Doc Setup}.
3. After the New Document Setup window opens, click on the [Fax/Scan/PDF] button.
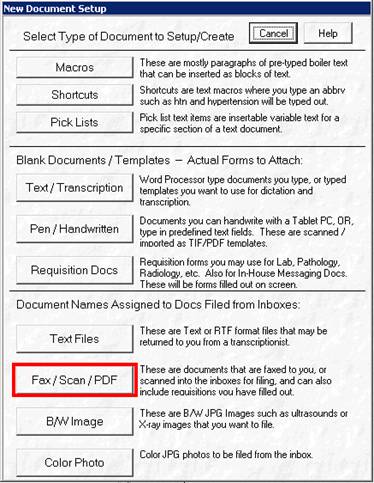
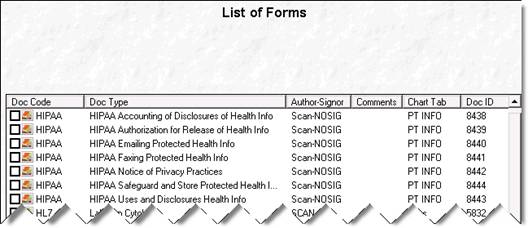
4. The List of Forms window opens to display the existing scan document names.
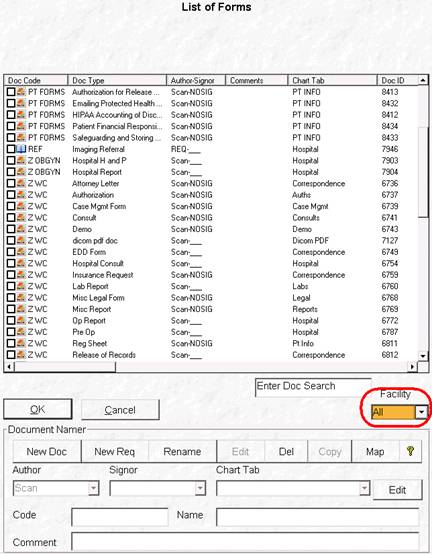
5.1 Click the arrow for the <Facility> field to select ‘All’.
6. If the PDF forms to email are not listed under the <Doc Type> column, click [New Doc].
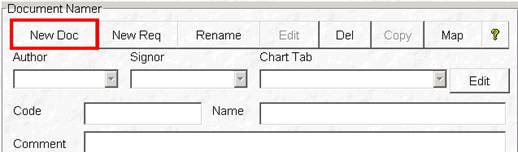
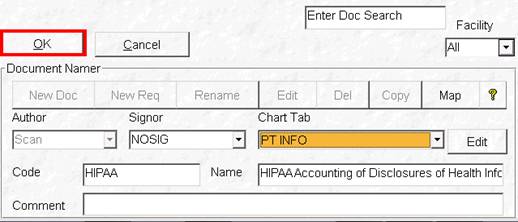
6.1 <Author> is bypassed and defaults to ‘Scan.’
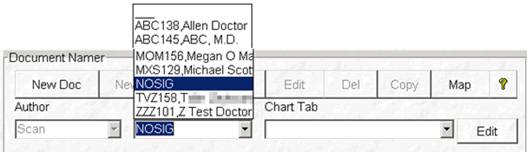
6.2 The <Signor> field opens the combo box options. Select ‘NOSIG’ if a provider signature is not needed after scanning.
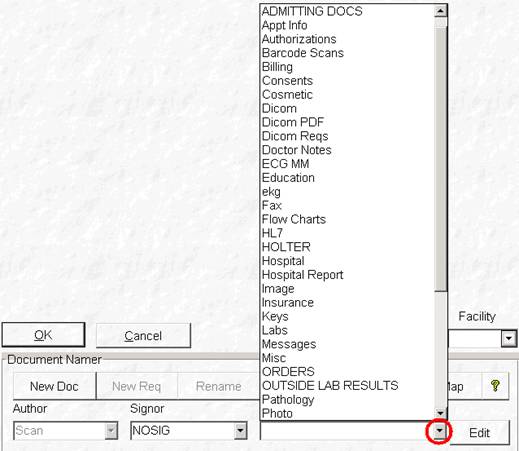
6.3 Click the arrow in the <Chart Tab> field to display the custom list and make a selection.
6.3.1 NOTE: This selection must be the same for all forms emailed from Intellect AND the <PCM Tab> field on the Utility --► Set Up --► Parameter screen in Intellect.
6.3.2 For details on adding new Chart Tabs, see PCM documentation for Infrastructure Building/Managing; Chapter: Document Set Up – Properties; Document: Chart Tabs.
6.4 Type a user-defined <Code> to group similar documents on the List of Forms window. For example: ‘PT FORMS’ or ‘HIPAA.’
6.5 Type the document <Name> exactly as it is appears in the drop-down on the Add Appointment screen in Intellect.
For example:
• HIPAA Accounting of Disclosures of Health Info
• HIPAA Authorization for Release of Health Info
• HIPAA Emailing Protected Health Info
• HIPAA Faxing Protected Health Info
• HIPAA Notice of Privacy Practices
• HIPAA Uses and Disclosures Health Info
• HIPAA Safeguard and Store Protected Health Info
6.6 Click [OK] to save the document name.
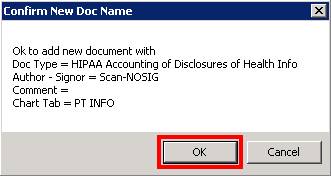
6.7 When the confirmation message appears, click [OK].
6.8 The newly added document is now displayed in the List of Forms with a unique Doc ID.
6.9 For more details on adding scanned document names for email forms, see the PCM documentation for Infrastructure Building/Managing; Chapter: Document Names Set Up (Faxes/Scanned/Imported Documents); Document: Establish Names/Chart Tabs for Filed Documents.
7. The PDF attachment emailed from Intellect prints with a barcode at the bottom of the document.

7.1 The text below the barcode indentifies the page order and where the document is filed in PCM:
Clinic#*Account#*Doc Date*Doc ID*0*Signor*Total Pages*Page Number
7.2 See PCM documentation for Charts; Chapter: Documents with Barcodes; Document: Filing Barcoded Documents (not yet available) for details on scanning the completed documents into PCM.