
Intellect™
ADDING ZIP CODES

Please note the order and functionality of the Zip Code, City, and State fields. The information regarding these fields is true throughout Intellect.
NOTE: If two areas share the same Zip Code yet have different city names, do NOT change the defaulted city name when registering new patients. If two cities or parts of cities share the same zip code, the mail arrives just fine; it is always delivered by the street address in that case.
Do NOT create a false zip code by adding a dash, period, or some other character to the zip code when the same code is used for more than one city.
Offices who would like each city to have a unique zip code may add a dash to the zip code followed by the 4-digit extension assigned by the United States Postal Service. USPS 4-digit extension information is available here: http://zip4.usps.com/zip4/welcome.jsp
Offices will need to add a zip code using these instructions if:
• zip codes for other countries are being added
• the clinic bills for CHDP or a program which requires the county code
1. With the focus in the <Zip Code> field, press [F2] to display the Searching screen:
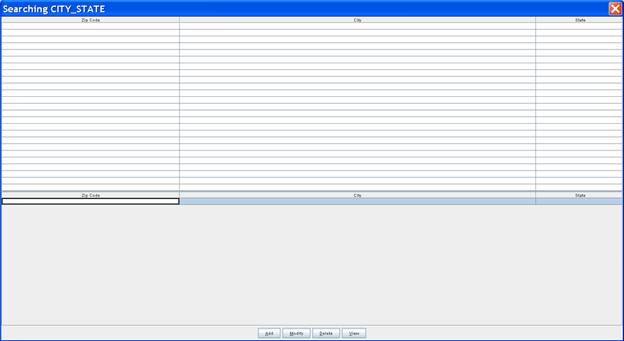
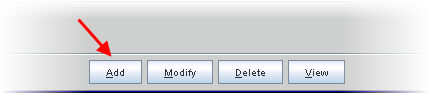
1.1 Click the [Add] button on the Searching CITY_STATE screen:
1.2 The Add CITY_STATE screen displays:
2. <Zip Code> 
2.1 In addition to the standard 5-digit and 9-digit zip codes, this field also allows zip codes to be entered that are not 5 digits or 9 digits in length to accommodate other countries.
2.2 The zip code may be entered as five digits only or with a dash before the 4-digit extension. If several cities share the same zip code, it is recommended that the 9-digit zip code is entered.
2.3 The correctness of a zip code may be verified using the United States Postal Service website: http://zip4.usps.com/zip4/welcome.jsp
2.4 This field may not be left blank. If left unpopulated, this error message displays:
3. <City> 
3.1 When a <Zip Code> is entered, the <City> and <State> automatically populate. Enter the city.
3.2 The correctness of the city name may be verified using the United States Postal Service website: http://zip4.usps.com/zip4/welcome.jsp
4. <State> 
4.1 The drop-down for this field includes all state/provinces for Australia, Canada, Mexico, and the United States.
4.2 To view the list of codes with descriptions, press the [F2] key OR click directly on the field. To view the list of only the codes, click on the arrow. To select, double click on the correct code, OR use the ↑ (up) and ↓ (down) arrows to highlight the correct code, and then press the [Enter] key to select.
A partial list of codes and their descriptions is shown below:
5. <County> 
5.1 Leave this field blank.
5.2 Note: This field is required for CHDP billing PRIOR to July 1, 2017. See Charges --►CHDP --►Add County Code to Zip for additional information.
6. <Country> 
6.1 If adding a Zip Code for an address located outside of the United States, the country should be added. Enter the country.
7. <County Code> 
7.1 Leave this field blank.
7.2 Note: This field is required for CHDP billing PRIOR to July 1, 2017. See Charges --►CHDP --►Add County Code to Zip for additional information.
8. When the zip code information is completely entered, select one of these options:

8.1 [Add]: Select the [Add] button to save the new zip code and return to the screen you were initially on before starting to add a zip code.
8.2 [Clear]: Select the [Clear] button to remove all of the information entered into the Add CITY_STATE screen.
8.3 [Exit]: Select the [Exit] button to display this screen:
[Yes]: Select the [Yes] button to act the same as the [Add] button above – it saves the new zip code.
[No]: Select the [No] button to return to the screen you were initially on before starting to add a zip code.
[Cancel]: Select the [Cancel] button to return to the Add CITY_STATE screen.
For additional information, please contact Prime Clinical Services support.