
OnSTAFF 2000
Schedule/Appointment/PRINT
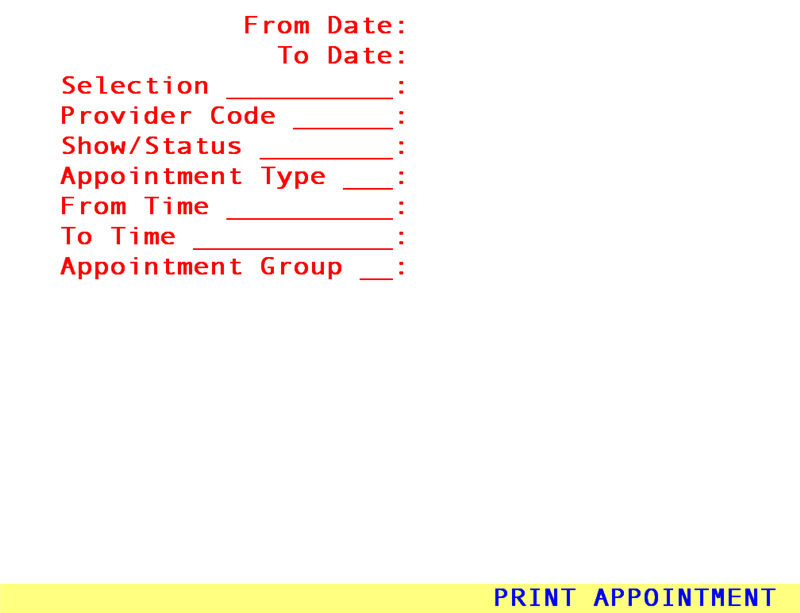
This option allows you to print labels, registration forms, super bills, sign-in sheets and several different types of appointment listings for patients scheduled on a specified date or range of dates. When the Print option is selected, On-Staff will display the following:
From Date: Allows the scheduler to order the selected print request for patients scheduled From the entered date.
To Date: Allows the scheduler to order the selected print request for patients scheduled To the entered date.
Selection: Enter the code of the print request you would like printed for scheduled patients. Pressing the [F2] search key will display the following valid choices:
A Appointment list for all providers.
C Appointment list by Clinic.
E Customized appointment listing by Clinic
H Customized appointment listing by Provider
L Appointment Labels.
P Appointment list by Provider.
R Registration form for patients with an appointment.
S Appointment Check List
T Print super bills for all patients with an appointment.
X Daily schedule.
Y Daily schedule with no blank lines (same as X).
Z Appointment Sign-In Sheet for each Provider.
1 Appointment List by Clinic (New) sorted by time.
2 Appointment List by Provider (New) sorted by time.
5 Customized appointment listing by Clinic.
6 Customized appointment listing by Provider
* For Selections 5 and 6 contact the Forms Department to customize an appointment listing. The columns on this form can be customized to pull the information you want. There are a few limitations. The form is not printed in condensed format, thus it will be limited to eighty characters across.
The cursor will or will not stop on the following fields, dependent on the requested Selection:
Provider Code: Allows the scheduler to order the requested print selection for a specific provider by entering their /Utility/Provider <Provider Code> OR pressing [Enter] to accept *, requesting all providers.
Show/Status: Allows the scheduler to order the requested print selection for a specific Show/Status entry (the same as a patient’s Appointment History screen’s Show entry). The Show/Status entry is usually made by On-Staff when a patient’s appointment has been deleted, rescheduled, canceled or flagged as a no show. When left blank the print request will include all Show/Status types. Entering ReSch, CAN, Delete, NoShow, or a user defined Show/Status entry will print a listing for ONLY those patient’s with that Show/Status. For example, entering CAN would order the requested print selection for patient’s whose appointment was canceled, providing the scheduler a list to work with in order to contact and reschedule those patients.
Appointment
Type: Allows the scheduler to order the requested print selection for a specific appointment type by entering the /Utility/Set Up /Appointment/Appointment Type <Appointment Type> OR pressing [Enter] to accept *, selecting all appointment types. For example, the scheduler may want to print registration forms (selection R) for ONLY new patients (new patient Appointment Type NP) in order to hand this to the patient upon their arrival for completion of name, address, insurance information, etc.
From Time: Allows the scheduler to enter a time to order the requested print selection for ONLY patients scheduled From the requested time. 12:00a will appear as the default. To order the requested print selection for the full day press [Enter] to accept this default OR enter the beginning time for which you would like to print.
To Time: Allows the scheduler to enter a time to order the requested print selection for ONLY patients scheduled To the requested time. 12:00a will appear as the default. To order the requested print selection for the full day press [Enter] to accept this default OR enter the ending time for which you would like to print.
NOTE: On-Staff will enter the time as AM unless you specify that it is PM by either entering a p after the time or using military time. For example, 1 o’clock in the afternoon can be entered either as 0100p or 1300.
Appointment
Group: Enter the desired /Utility/Provider <Appointment Group> to limit the print request for the requested <Selection> for only those providers within this group. This option is NOT available for <Selection> = X or Y. ALL OTHER options may use <Appointment Group>. See the documentation for /Utilty/Provider and /Security/Login Users <Appointment Group> for additional details.
After pressing [Enter] at the last field, On-Staff will display the following message:
Enter your print out destination or Return for default? HP
To accept the default printer (in the above example, HP) press [Enter]. To see your printer options press [Space Bar] once to clear the field, then press [Enter]. The printer destinations for your system will be displayed. At this point, highlight the desired printer and press [Enter]. The system should beep once to signify that the process is going to the printer.
If the system beeps twice the print job has failed. To determine the reason the print job failed access the SYSTEM STATUS OPTION by holding down the [Ctrl] key and typing X. For more information on this topic, please see Session I training documents regarding Control X.