
Intellect™
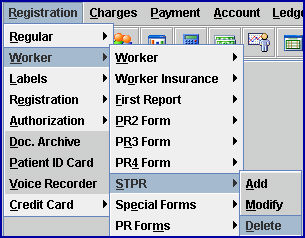
REGISTRATION MENU OPTIONS

Worker
STPR
Delete STPR
This feature is no longer available. 6/2019
After the Add STPR screen is saved, this option allows the deletion of STPR records entered in error. Records should not be deleted if the STPR form may need to be printed at a later date.
NOTE: Access to this menu and the ability to delete the screen are determined by the user’s security level. For more details, see the documentation for Utility --► Set Up --► Security --► Setting Security in Intellect.
1. To delete the STPR form in Intellect, go to Registration --► Worker --► STPR --► Delete
The Delete STPR screen displays:

2. Account ![]()
2.1 The focus automatically starts here.
2.2 If records were recently added or modified, an account number may be displayed.
2.2.1 Press [Enter] to accept the displayed account number.
2.2.2 Press either the [Spacebar] or [Delete] key to clear the account number.
2.3. When starting from a fresh login, the field is empty.
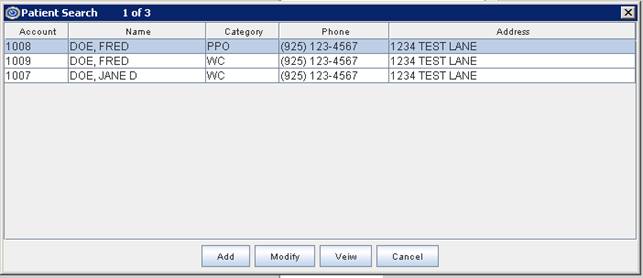
2.3.1 Type part of the patient’s entire name, formatted as LASTNAME, FIRSTNAME, and press [Enter] to search. If more than one account matches, a pop-up displays:
- OR -
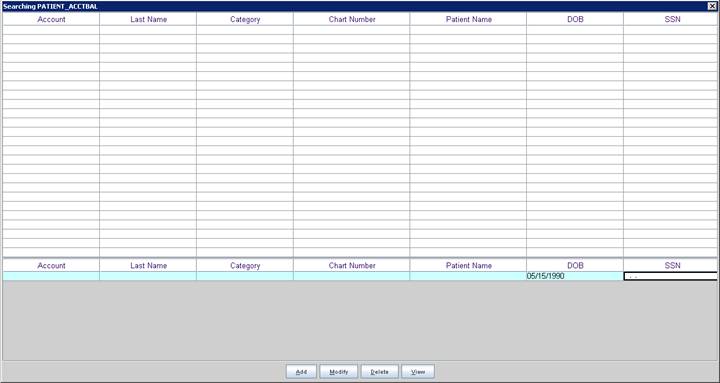
2.3.2 Press [F2] to search for the worker by name, DOB or other criteria listed on the Searching PATIENT_ACCTBAL screen.
3. Name (Last, First Init.) ![]()
3.1 The name displays as last, first, middle initial. This is a read-only field and may not be modified.
4. Date of Exam ![]()
4.1 Press the [Enter] key to display all records for this account.
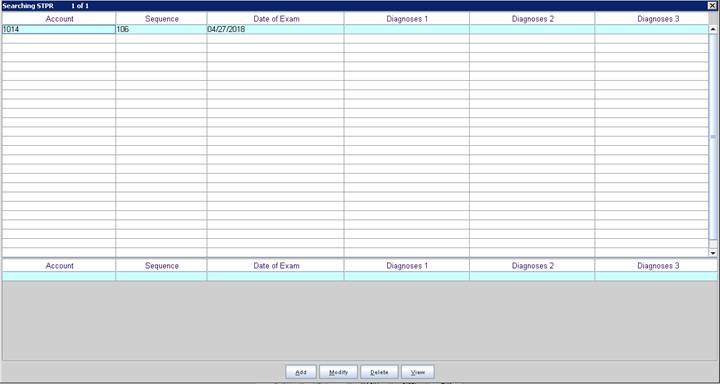
4.2 To select the exam date to modify, click on the correct code, OR use the ↑ (up) and ↓(down) arrows to highlight the correct code and then press the [Enter] key to select.
5. The remaining fields automatically populate.
6. Select the action button at the end of the screen:
![]()
6.1 Select [Delete] to display:
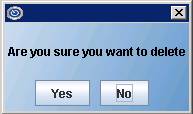
6.1.1 Click [Yes] to permanently delete the record, clear the screen, and return the focus to the <Account> field.
6.1.2 Click [No] to close the pop up window, clear the screen, and return the focus to the <Account> field.
6.2 Click [Clear] to clear the screen and return the focus to the <Account> field with the current account number active.
6.3 Click [Exit] to close the screen and return the focus to the main Intellect screen.