
Intellect™
REGISTRATION MENU OPTIONS

Worker
STPR
Modify STPR
This feature is no longer available. 6/2019
After the Add STPR screen is saved, this option allows changes and additions to be made to the STPR form.
This screen contains a field with a drop-down list. Click on the field, OR press the [F2] key to display the valid choices. To view the list of only the codes, click on the arrow. To select, click on the correct code, OR use the ↑ (up) and ↓ (down) arrows to highlight the correct code and then press the [End] key to select. An example of the field with a drop-down list is:
![]()
This screen contains several Text Box fields. To advance to the next field, either use the [Ctrl] and [Tab] keys, OR click on another field. An example of the Text Box field is:

1. To modify the STPR form in Intellect, go to Registration --► Worker --► STPR --►Modify
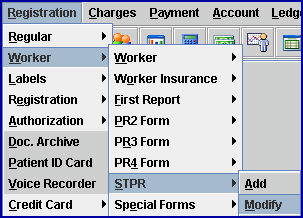
The Modify STPR screen displays:
2. Account ![]()
2.1 The focus automatically starts here.
2.2 If records were recently added or modified, an account number may be displayed.
2.2.1 Press [Enter] to accept the displayed account number.
2.2.2 Press either the [Spacebar] or [Delete] keys to clear the account number.
2.3 When starting from a fresh login, the field is empty.
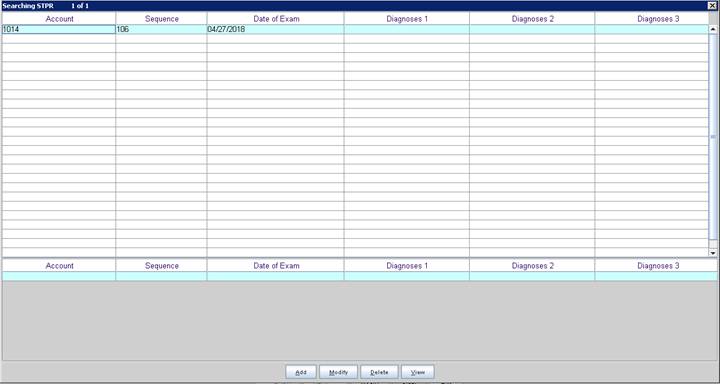
2.3.1 Type part of the patient’s entire name, formatted as LASTNAME, FIRSTNAME, and press [Enter] to search. If more than one account matches, a pop-up displays:
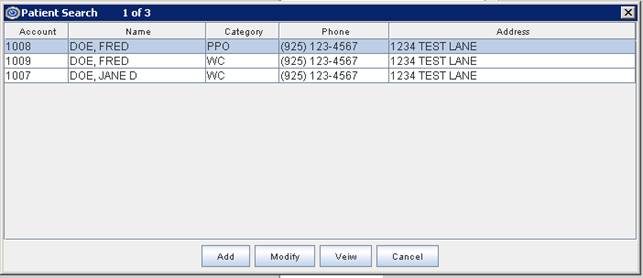
- OR -
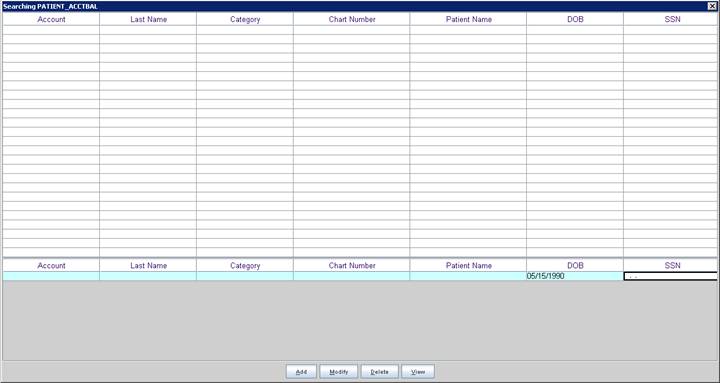
2.3.2 Press [F2] to search for the worker by name, DOB, or other criteria listed on the Searching PATIENT_ACCTBAL screen.
3. Name (Last, First Init.) ![]()
3.1 The name displays as last, first, middle initial. This is a read-only field and may not be modified.
4. Date of Exam ![]()
4.1 Press the [Enter] key to display all records for this account.
4.2 To select the exam date to modify, click on the correct code, OR use the ↑ (up) and ↓ (down) arrows to highlight the correct code and then press the [Enter] key to select.
5. The remaining fields automatically populate.
5.1 All fields have the same characteristics as described in Add STPR.
5.2 Other than the <Account>, to make modifications or additions, press [Enter], [Tab], the [ ↓] (down arrow) key, OR use the mouse to advance the focus to the desired field(s).
6. The action buttons at the end of the screen are different from Add STPR:
![]()
6.1 Click [Modify] to save the changes and return the focus to the <Account> field with the current account number active.
6.2 Click [Clear] to clear the screen and return the focus to the <Account> field with the current account number active.
6.3 Click [Exit] to close the screen and return the focus to the main Intellect screen without saving.
7. For more information on printing the STPR form refer to either:
7.1 Registration --► Worker --► STPR --► Search STPR
7.2 Registration --► Worker --► PR Forms Printing --► Batch of PR Forms Printing or Group of PR Forms Printing.