
Intellect™
SCHEDULE MENU OPTIONS

Appointment
Eligibility
Modify
This menu option is used to display and maintain insurance billing eligibility for patient accounts. When a client’s insurance billing is set for Tele Com, this screen populates with a Verification Request that has been sent via Billing --►Tele Com --►Verify (270) and picked-up by Billing --►Tele Com --► Acknowledgement (271).
Version 9.12.07 New Feature: Effective this update, the program now reads and imports rejection notices in the 271 Eligibility Response files; i.e., 'Patient not covered by insurance'. The rejection notices are posted in the same Patient Eligibility file as insurance benefit notices. Also effective this update, changes were made to accommodate uploading multiple 271 Eligibility Response files.
Also, specific patient accounts from Schedule --► Appointment --► Eligibility --►Add may be manually added.
For Tele Com Eligibility Verification, these conditions must exist:
• A patient must be on the schedule for the requested date range.
• The requested insurance(s) must be listed as one of the patient’s insurance screen(s).
• The patient’s Utility --► Insurance <Eligibility> field must match the <Carrier Type> entered here.
• The patient’s Utility --► Insurance <Eligibility Receiver> must have the proper code.
• Utility --► Insurance --► Tele Com must be completed.
• An account must be set up with a receiving agency.
• There must be a carrier-approved method of transmittal; i.e., modem, secure FTP, or FTP.
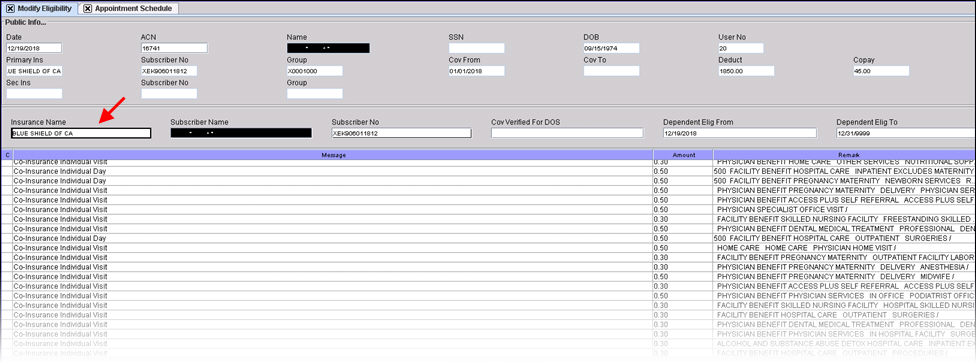
1. To modify or view eligibility in Intellect, go to Schedule --► Appointment --► Eligibility --►Modify:
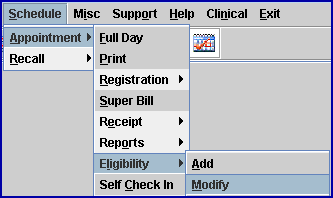
The Modify Eligibility screen opens:
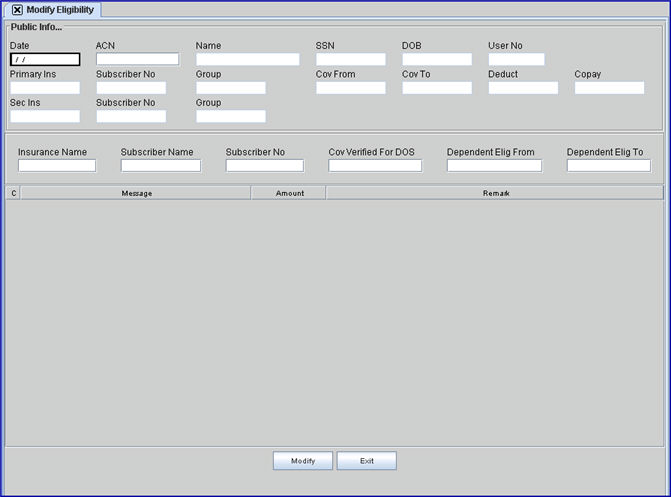
Once an 'Eligibility' record is added, it is keyed by a combination of the <Patient Account Number> and the Date of Verification. Both field entries must match correctly to modify/display a record.
2. Date 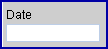
2.1 Enter the date the patient verification was completed (i.e., the date the 271 was picked-up).
2.2 When searching for an account to modify/display, and users are unsure of the date of verification (271), they may leave this <Date> field blank.
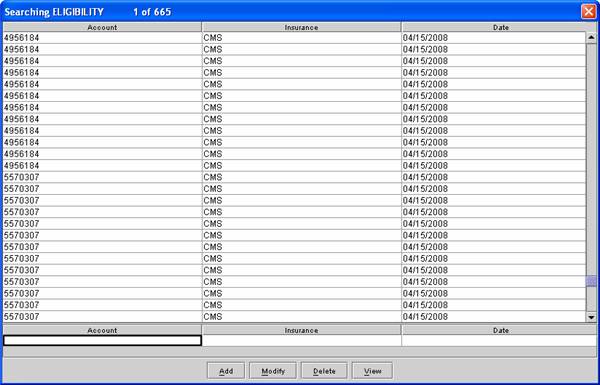
2.3 Press [F2] to search for available records on the Searching screen. Records where the Date of Verification (s) matches the entered <Patient Account Number> are displayed. To select a record, double-click on the desired record, OR use the ↑ (up) and ↓ (down) arrows to highlight the correct record, and then press the [Enter] key to select.
3. ACN 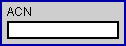
3.1 Type the patient account number whose eligibility status should be viewed/modified.
3.2 If a record was selected from the [F2] date search above, this field populates.
3.3 Press the [Enter], [Tab], or ↓ (down) arrow populates the screen and moves the focus to the <Insurance Name> field, as shown below:
4. Name 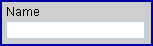
4.1 The associated name displays for the entered account number: Last, First.
4.2 This is a read-only field.
5. SSN 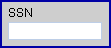
5.1 Patient’s social security number displays as entered in the <Social Security No> field on the Registration --►Regular --► Patient screen.
5.1.1 Effective version 16.11.10, the SSN only displays the very last 4 digits and the rest are represented with asterisks (***-**-1234), unless the data in the database is malformed or incomplete.
5.1.2 Effective version 16.12.02, options are available to mask the SSN (displaying only the last 4 digits) or not mask the SSN. For additional information, see Utility --►Set Up --►Screen Fields, Masking/Unmasking the Social Security Number (SSN).
5.2 This is a read-only field.
6. DOB 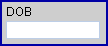
6.1 Patient’s date of birth displays as entered in the <DOB> field on the Registration --►Regular --► Patient screen.
6.2 This is a read-only field.
7. User No. 
7.1 Displays the contents of the <User Number> field on the Utility --►Set Up --►Security --►Log In Users screen for the current operator.
7.2 This is a read-only field.
8. Primary Ins 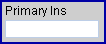
8.1 The primary insurance company name displays as entered in the <Insurance Company Name> field on the Registration --► Regular --► Patient Insurance screen.
8.2 This is a read-only field.
9. Subscriber No 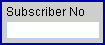
9.1 The subscriber number displays as entered in the <Subscriber No> field on the Registration --► Regular --► Patient Insurance screen for the primary insurer.
9.2 This is a read-only field.
10. Group 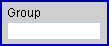
10.1 The group number displays as entered in the <Group No> field on the Registration --►Regular --► Patient Insurance screen for the primary insurer.
10.2 This is a read-only field.
11. Cov From 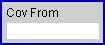
11.1 The coverage begin date displays as entered in the <Coverage From> field on the Registration --► Regular --► Patient Insurance screen for the primary insurer.
11.2 This is a read-only field.
12. Cov To 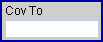
12.1 The coverage end date displays as entered in the <Coverage To> field on the Registration --► Regular --► Patient Insurance screen for the primary insurer.
12.2 This is a read-only field.
13. Deduct 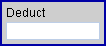
13.1 Intellect displays the <Deductible Met> information from the Registration --► Regular --► Patient Insurance screen.
13.2 This is a read-only field.
14. Copay 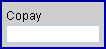
14.1 Intellect displays the <Co Payment> information from the Registration --► Regular --► Patient Insurance screen.
14.2 This is a read-only field.
15. Sec Ins 
15.1 The secondary insurance company name displays as entered in the <Primary/Secondary> field on the Registration --► Regular --► Patient Insurance screen.
15.2 This is a read-only field.
16. Subscriber No
16.1 The subscriber number displays as entered in the <Subscriber No> field on the Registration --► Regular --► Patient Insurance screen for the secondary insurer.
16.2 This is a read-only field.
17. Group
17.1 The group number displays as entered in the <Group No> field on the Registration --► Regular --► Patient Insurance screen for the secondary insurer.
17.2 This is a read-only field.
Users must press [Enter], [Tab] , or ↓ (down) arrows through the remaining fields to move to the Command Column.
18. Insurance Name 
18.1 The payer’s name for the requested insurer.
19. Subscriber Name 
19.1 The payer’s name for this subscriber.
20. Subscriber No 
20.1 The subscriber number for this patient for this payer.
21. Cov Verified For DOS 
21.1 Patient’s scheduled date verification .
22. Dependent Elig From 
23. Dependent Elig To 
After pressing the [Enter], [Tab] , or ↓ (down) arrow, the focus moves to the Command Column:
24. C (Command Column) ![]()
24.1 With the focus in the Command Column, press [F2] to display these choices:
24.2 The <Amount> and the <Remark> columns may be modified.
25. Message ![]()
25.1 The line item description from the payer. For user-added verifications, this field is always blank.
26. Amount ![]()
26.1 The line item description.
27. Remark ![]()
27.1 The line item clarification or notation.
28. When the information is completely entered, select one of these options:

28.1 Select [Modify] to commit any changes and clear the screen, returning the focus to the <Date> field.
28.2 Select [Exit] to exit without saving, returning to the main Intellect screen.